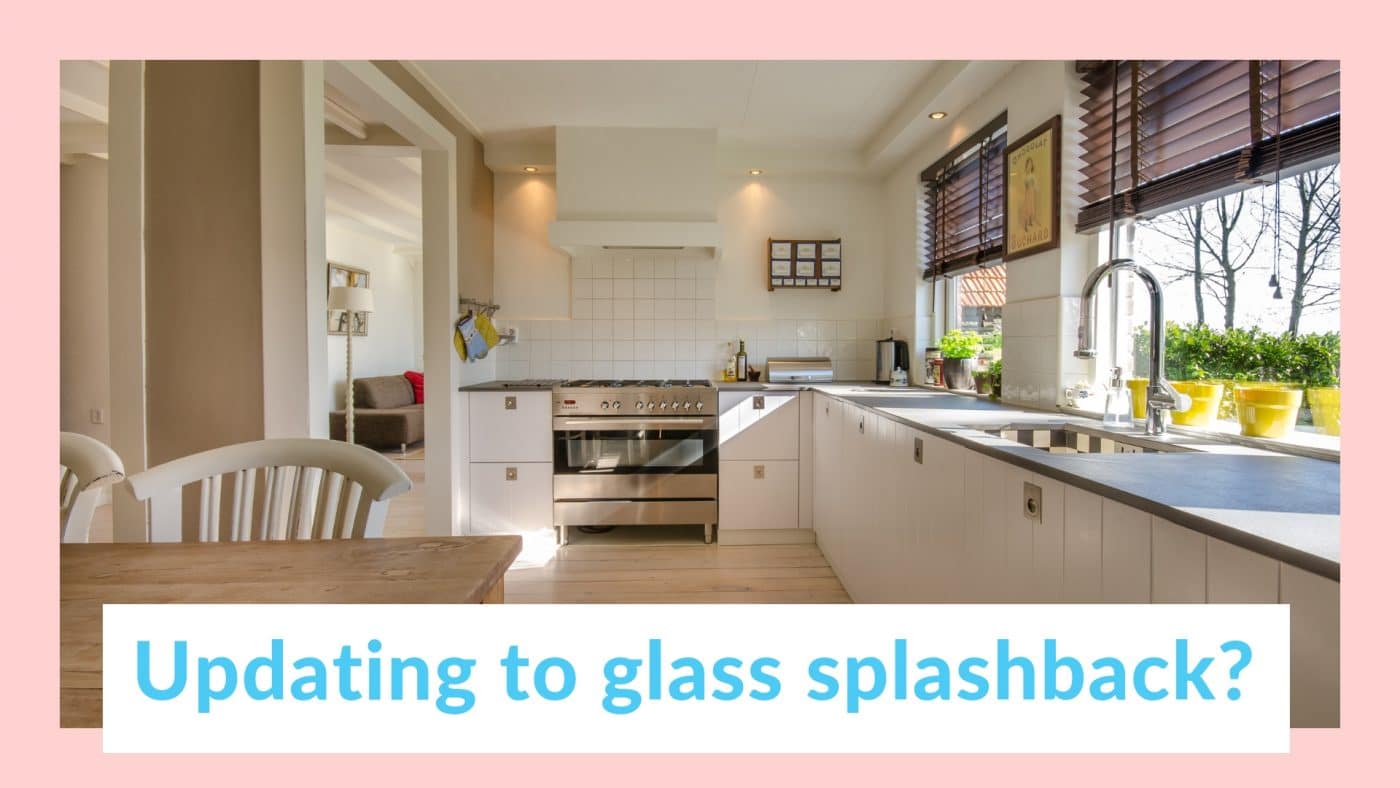
Glass splashbacks are the new rage in interior design, not just in the kitchen but for bathrooms as well. Glass splashbacks also come in various design and color which makes the home stylish. Since it is glass, you can include prints, too. So, how does one install glass splashback?
Diverse Glazing Group professional glaziers can help you determine the exact measurement where you want it installed.
For the kitchen:
- Measure the height from the countertop to the wall cabinet
- Measure the width of the kitchen countertop including the structural corners
- Consider any electrical outlets along the wall
Some clients prefer installing splashback from just the width of their cooker and to the height of their exhaust. That works, too! We help bring ideas to life.
Once the type of glass, design, and measurement has been decided, we supply precut glass on the day of installation.
Glass splashbacks can be installed using: screws or adhesive.
Using adhesive is so much easier. You only apply sealant adhesive to the back of the splashback, push to the wall and let it sit for a few hours.
Before adhering the glass, make sure the wall is clean and flat. Glass adheres to flat surfaces and your investment last longer. It must not rest on the counter space. Spacers are used to allow space between countertop and glass. Use sealant to seal edges and to cover the tiny gap.
If you want to update the look of your kitchen, consider glass splashback. It makes cleaning easy because you no longer have to deal with grout. Our qualified glaziers can visit your home and talk to you about your design ideas. Give us a call for a booking.


